Set up Single Sign-On (SSO) in Azure
For setting up single sign-on in Azure, perform the following steps.
To set up single sign-on:
-
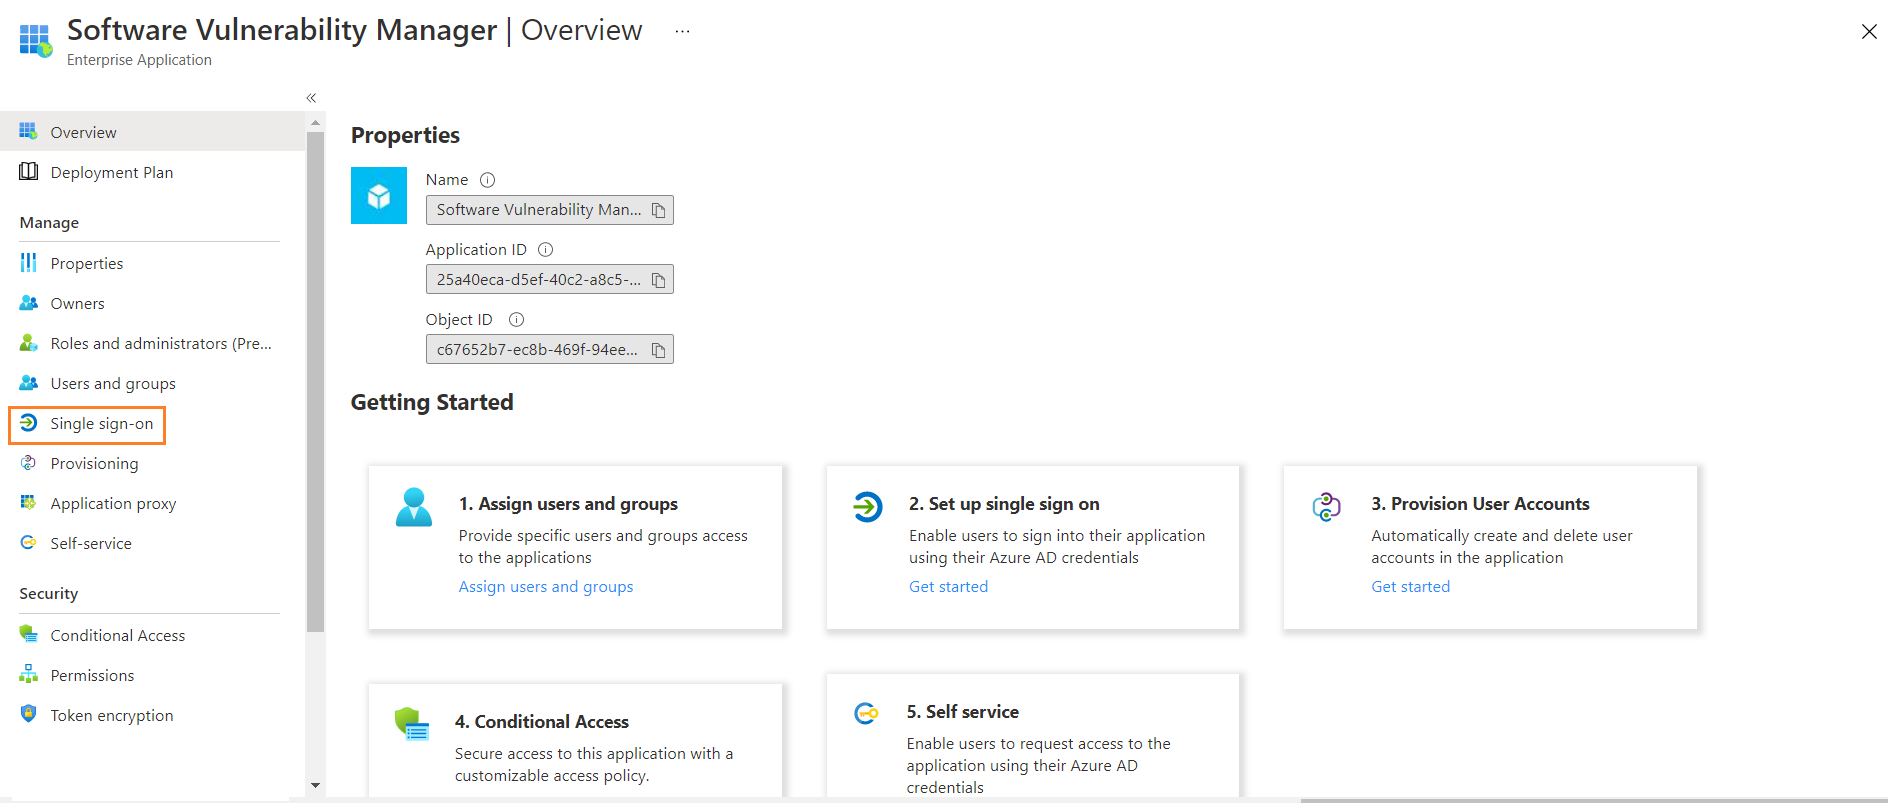
On the application account details page, select Single sign-on from the left panel. You can also select from the Overview page by clicking Get started link.
-
Click SAML.
-
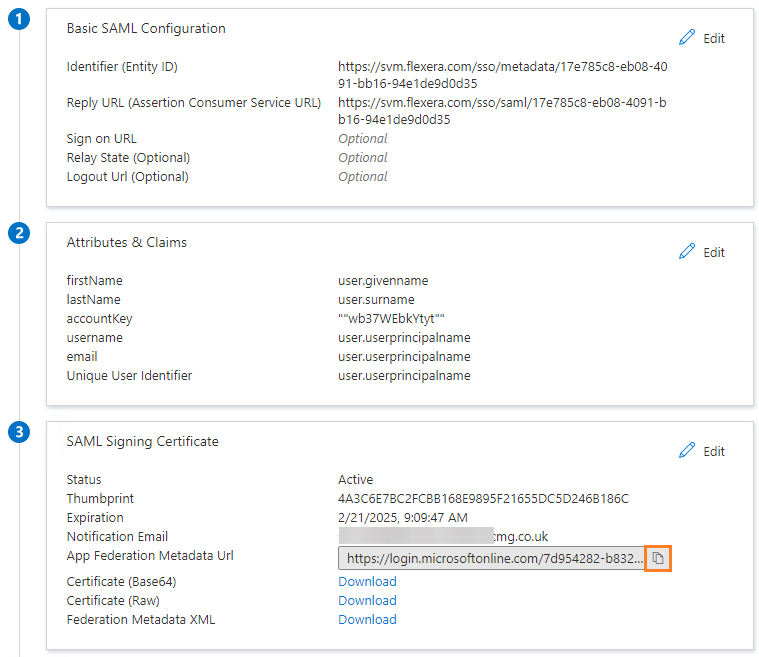
The Set up Single Sign-On with SAML page appears. Under SAML Signing Certificate field copy Metadata URL, login to Software Vulnerability Manager, browse Configuration >Settings > Service Provider Configuration, and then check SSO Enabled. Select Provide IdP Metadata URL and paste the copied URL into the text box.
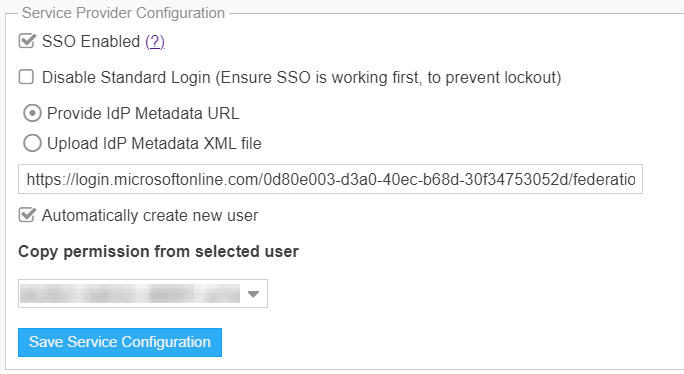
To create an auto user - select the Automatically create new user check box and then select the template user from the drop-down.
-
Generate an account key from the Software Vulnerability Manager Configuration > Settings > IdP Configuration Instructions and then click Save Service Configuration button. Click Ok and agree the confirmation dialog which appears.
-
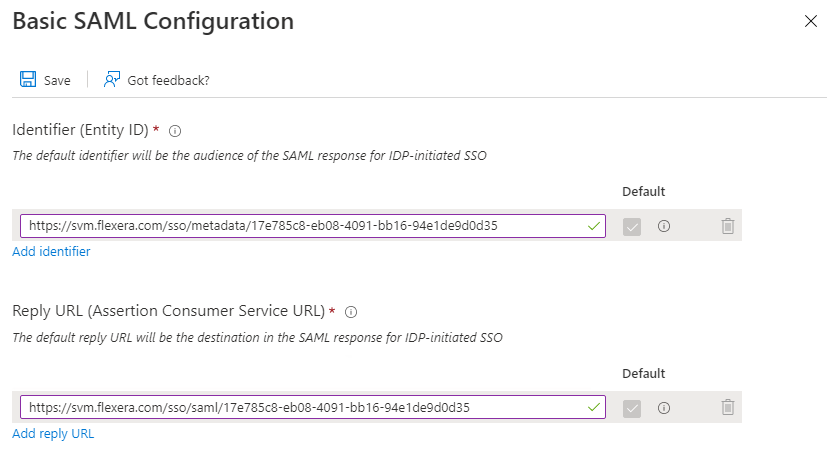
Copy the following from the Software Vulnerability Manager Configuration > Settings fields and paste in the Azure Single sign on > Set up Single Sign-On with SAML > Basic SAML Configuration:
- Single Sign On URL (Same with Recipient URL and Destination URL) to Reply URL (Assertion Consumer Service URL).
- Single sign on URL and Audience URL (SP Entity ID) to Identifier (Entity ID).
After selecting the details click Save.
 note
noteMetadata URL cannot be used for the multiple applications.
-
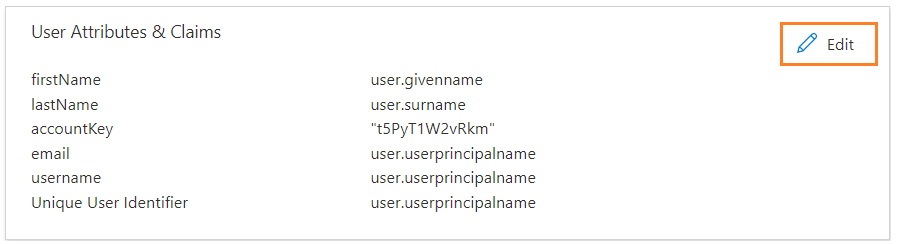
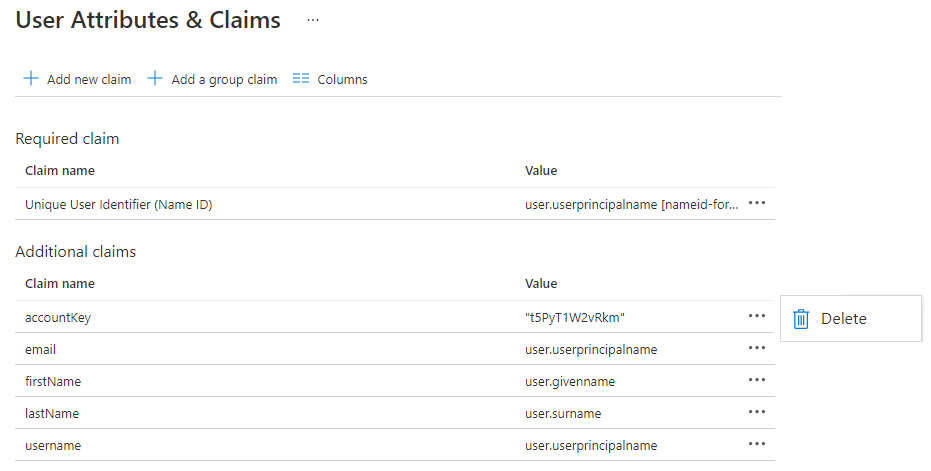
Edit the User Attributes & Claims:
-
Click Edit.
-
The User Attributes & Claims page appears.
-
Delete all old attributes and claims by clicking the context menu icon.
-
Click + Add New claim to add new attributes and claims.
-
The Manage claim page appears.
-
Enter name in the text field.
-
Select the source attributes from the drop down list.
-
After selecting, click Save.
Follow the above steps and add attributes and claims for the following:
-
firstName
-
lastName
-
email
-
username
-
accountKey
noteWhile selecting accountKey attributes paste the generated Account key which is copied from the Software Vulnerability Manager Configuration > Settings > IdP Configuration Instructions.
-
-
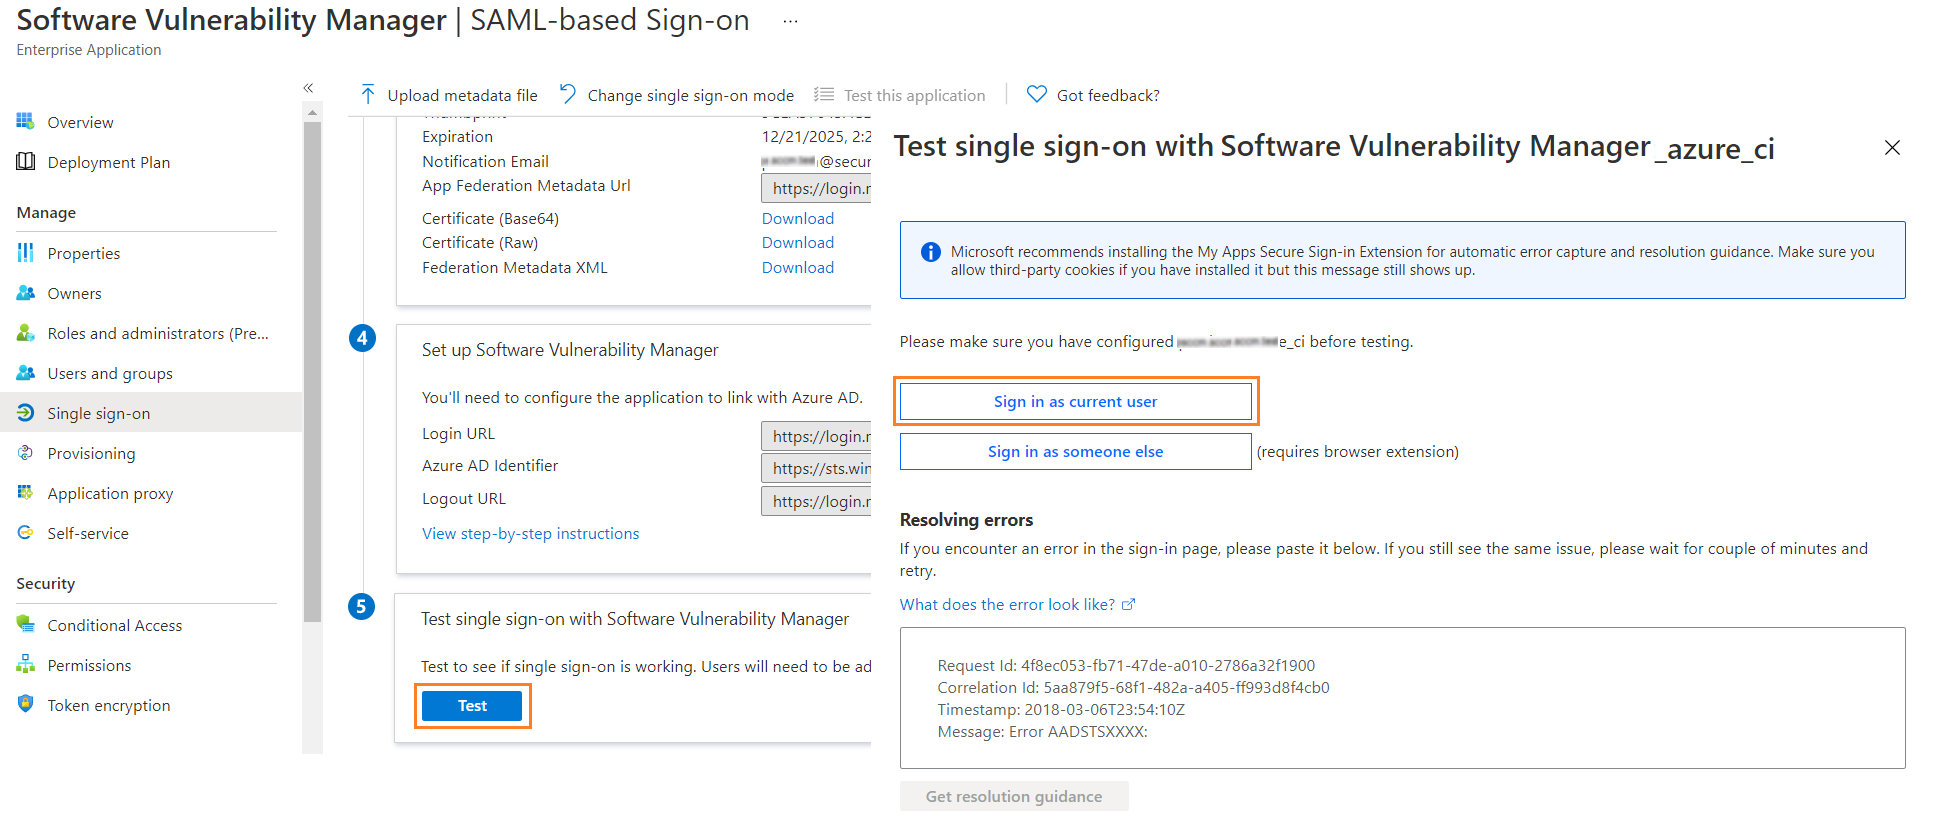
After configuring, click Test, and then click Sign in as current user link.
-
After successful action it navigates to the Software Vulnerability Manager application.
You can also access through the Service Provider (SP) login for the created application by using the assigned user.